You have no items in your cart.
Let’s talk about furniture prepping! This is a hot topic because it is the most important part of your project. Here I am going to show some tips on how to prep older antique furniture that has been sitting in the attic, barn, or maybe your basement. These pieces usually need the most cleaning. All projects need different prep work. I’m going to go over some basics and talk about how to get your piece ready for paint and to store your treasured items.
This post contains affiliate links. You don’t pay any more from ordering from these links but I earn a small commission so I can continue to bring you more fun projects! They also allow me to show you exactly what I use so you know what I’m referring to!
Material List:
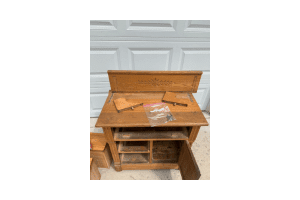
First things first! Remove all the hardware and the drawers. Take off any back boards that can be removed. We are going to get this thing throughly cleaned! Put everything you take off your piece in a sandwich bag and label it. Even if you’re not keeping the hardware, it is best to keep it together just in case. Then I like to sand my piece down. I don’t sand it much, just enough to knock off any uneven texture on the wood and take some of the shine off the old finish. I don’t spend more than 10 minutes sanding a piece this size. So that should give you an idea for how much of a “light” sanding this is.
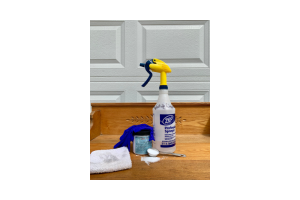
The supplies you’ll need are a bucket of water, White Lightening mix, gloves, washcloth, toothbrush, and elbow grease! I like to mix my White Lightening in a water bottle. I use about a tablespoon and mix it with hot water. I keep this on hand for all my projects.
Next you are going to get to work! I wipe every single part of my piece down. I clean the inside as well as the outside with the White Lightening. I rise the dirt off my cloth and toothbrush as I go. Once it has been cleaned, I get a new rag and a clean bucket of water and I rise off all the White Lightening cleaner. I’m not going to show you my dirty bucket of water, but I will tell you, you’ll be surprised how disgusting a piece of furniture can get over time!
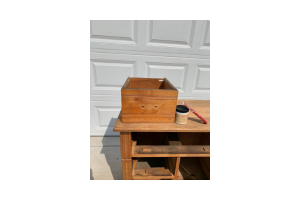
The next step is to fill any scratches or hardware holes. I decided to replace the hardware on this piece so I’m using Dixie Mud to fill the holes. I do this after I clean because water will remove this product. I put the Dixie Mud on with a putty knife and let it dry. Hardware holes usually take 2-3 applications because they are deep and sometimes the mud shrinks when it dries. Once it is done I sand it smooth.
Then I apply at least 1 coat of primer! Older pieces like this have a tendency to “Bleed Through.” Bleed through is just the tannins in the wood coming up through your paint. It looks like oil on your piece. A simple coat of BOSS primer will stop this and save you the headache! BOSS comes in white or clear. I used clear here. This also helps your Dixie Mud preform at its best!
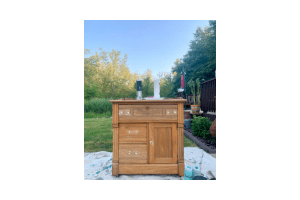
Ya’ll I know this may seem like a lot of work, but it is so worth it! All this prep only took me about 3 hours total WITH drying time. I did it in the hot sun so it would go faster. These are the steps that take you from paint slapper (which isn’t good for anyone) to a pro painter!!
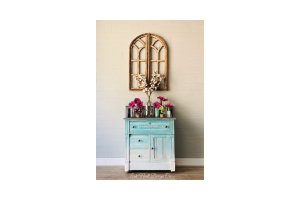
Here is what this piece looks like now. Oh, and by the way! I painted it LIVE on facebook! You can see the video here! And you can see the rest of the video here!
