You have no items in your cart.
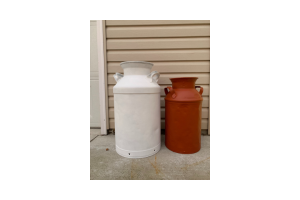
If you’re lucky, milk jugs are one of those rare items that you’ll stumble upon while you are out thrifting! You can also buy them at Hobby Lobby or other decorating stores, but they’re pricey. I picked both of these jugs up for around $15 each while out thrifting! It looked like they had been painted in the 1970’s, so they were ready for an update!
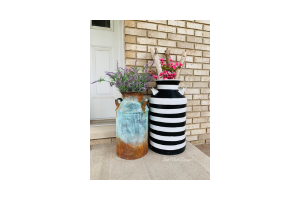
I wanted some front porch decor that really set the tone for people entering my home, so I decided to paint the larger one with black and white stripes and the smaller one with patina!
This post contains affiliate links. You don’t pay any more from ordering from these links but I earn a small commission so I can continue to bring you more fun projects! They also allow me to show you exactly what I use so you know what I’m referring to!!
Material List:
- White Lightening Cleaner from Dixie Belle
- BOSS Primer in white
- Prime Start Patina Primer
- Iron Patina
- Copper Patina
- Blue Activator Spray
- Flat Large Brush
- Frog Tape
- Caviar Paint
- Cotton Paint
- Mermaid Tail
- Chip Brush
- Gator hide
I started off by thoroughly cleaning this piece with White Lighting Cleaner. To clean, I mixed up about a tablespoon with hot water in my spray bottle, and scrubbed all the dirt and oils off of the milk cans. Then, I rinsed the cleaner off and let the jugs dry. Once they were dry, I primed both cans. On the larger can, I used BOSS primer in white to lighten the color up before I added the Cotton white paint for the base color. For the smaller can, I applied Prime Start to the entire jug. This is a special primer that protects the metal jug from eroding from the patina spray activator. It’s important to use this when you are using the Dixie Belle patina line on metal surfaces.

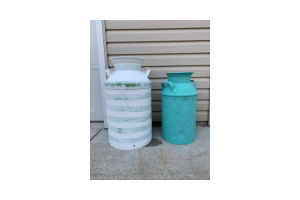
Next, I painted the large jug in Cotton chalk mineral paint from Dixie Belle and the smaller jug with Mermaid Tail. Then it was time for the design! I definitely wanted black and white stripes on the larger one. Because this would be a porch decoration, I was not worried about making sure this piece looked perfect. I used my frog tape and taped off the bottom of the jug. Then, I tore 2 small pieces of tape from the roll and set one on each side of the can to measure about a tape’s width up. I did this to measure the whole jug.


Once it was taped, I gave it all a coat of Cotton again. This helps with keeping your lines crisp. If paint bleeds through the new color, the line will be the color that you want hidden. Then I painted the rest of the jug in Caviar. I took the tape off and sealed the black and white stripes with 2 coats of Gator Hide when I was done.
As you can see, we still have the small patina can! I went ahead and painted the top half with copper patina paint (with a touch of the Iron Patina on the top) and the bottom with Iron Patina Paint. I let it dry. Then I went back and painted both the copper area and the iron area again, WHILE THE PATINA PAINT WAS STILL WET, I sprayed the copper paint with blue activator spray and the iron paint with green activator spray! I used a chip brush for the patina paint so I could just toss it when I was done.

This is what it looks like after the spray.

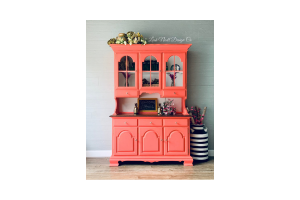
Let your activator sit for a day or two. The longer you wait, the cooler it becomes. Once it is dry you can seal it with Gator Hide as well! I put these on my front porch ASAP and I love them!! I’ve even pulled that black and white stripped jug out for staging this fun piece!

