You have no items in your cart.
Do you have an ugly refrigerator? I have to admit I have more than one around here! Our house was built in 1998 and we have yet to invest in a kitchen update. I am planning on painting our refrigerator inside our home in the future, but I thought I would start with the one in my garage. After all, I spend more time in there than I do in the kitchen!
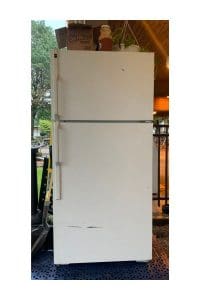
As you can see here, we have a plain, white, BORING refrigerator right here. Our neighbor gave it to us to when we built our garage to keep our beer in. We have really good neighbors!
This post contains affiliate links. You don’t pay any more from ordering from these links but I earn a small commission so I can continue to bring you more fun projects! They also allow me to show you exactly what I use so you know what I’m referring to!
Material List:
- White Lightning Cleaner
- Slick Stick Primer
- Foam Paint Roller
- The Gulf
- Black Wax
- Clear Satin Top Coat
- Wondrous Floral Transfer
- Beautifully Native Transfer
- Sand Paper
- Blue Topcoat Sponge
- Gator Hide
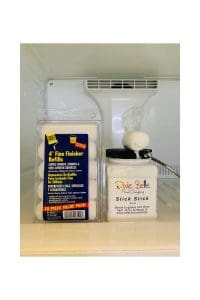
The first thing I did was empty it and remove the handles. Then, I cleaned the entire thing with White Lightning Cleaner. I used a green scrubby pad to get all the gunk off of the outside. I did not sand it. I rinsed the whole thing with clean water. Once it was clean and dry it was time to prime. I used the best primer I have found for metal, Slick Stick. This is a specific primer made to use before painting metal, glass, plastic, and even formica countertops like I did here! I like to apply this with a foam roller— it’s so much easier to apply with a roller opposed to a brush on flat surfaces like a refrigerator. The refrigerator has a little bit of texture to it, so it took 2 coats to get full coverage. I also used an artist brush to get in those tight corners. It all went very fast!
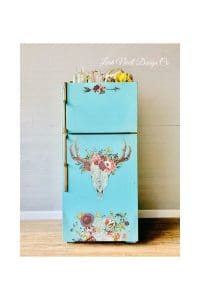
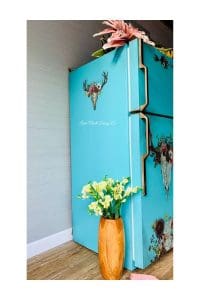
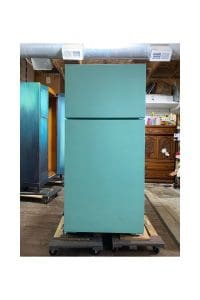
After the primer had dried, I went in with The Gulf from Dixie Belle! It’s a very pretty true teal color. I wanted to keep the design simple, so I applied it with the foam roller the same way I did the primer. It took 2 coats to cover, and about 16 ounces of paint. I left the doors open to allow the paint to dry and just painted over the hinges so they blended right in.
Now for the fun part! I wanted to jazz this refrigerator up a bit! Have you ever used furniture transfers? Well, I decided it would be a good idea to try them on this! I’ve used them before on a metal desk and it turned out fabulous. I used painters tape and laid out my design a couple times, trying different positions and styles. I ended up using this Beautifully Native Transfer and Wondrous Floral transfer together.
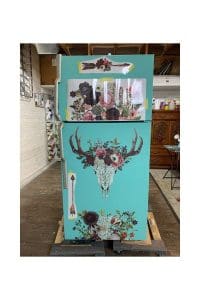
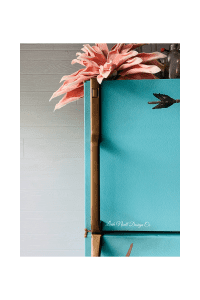
I applied the deer head first and centered the rest of the transfers around it. (Full disclosure here, I actually applied the big floral on the top half of the freezer and ended up painting over it. There was just too much going on. But that’s what I love– you can paint over the transfers if they don’t turn out!) After they were all applied, I rubbed them down so I knew that they were secure. Then, I sanded over them with a fine grit sanding pad. This just makes it look worn into the paint and more authentically painted. After this, I added a touch of black wax from Dixie Belle on all the corners. Usually you would use wax last because most waxes are oil based and don’t react well with water based sealers. But! Dixie Belle’s waxes are water based and work well underneath their topcoats!
Next, it was time to seal! I used one coat of clear satin topcoat and let it dry. I applied it with a blue topcoat sponge. I use this sealer first because it is really easy to work with for a first coat application. Then, I applied 2 coats of Gator Hide. Gator Hide is heat and water resistant so it is strong enough to hold up to everyday use on this refrigerator. As for the hardware, I painted it the same way I paint all of my furniture hardware. You can read about it here. I love how this one turned out and can’t wait to paint more! So what do you think, would you paint your refrigerator?
